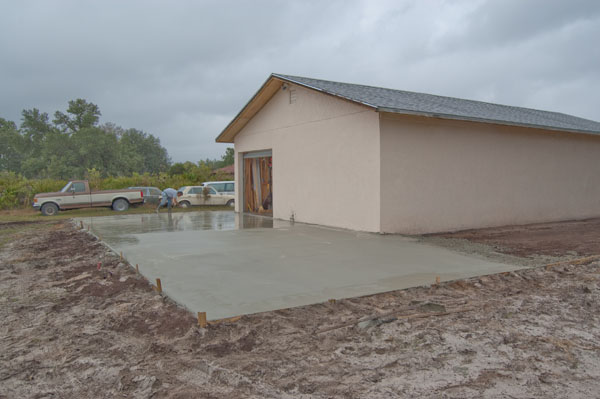
Once I built the "Taj" I needed some workspace on the outside of the building so I surrounded the building with concrete...

This particular portion of the pad is 20 ft by 50 ft.
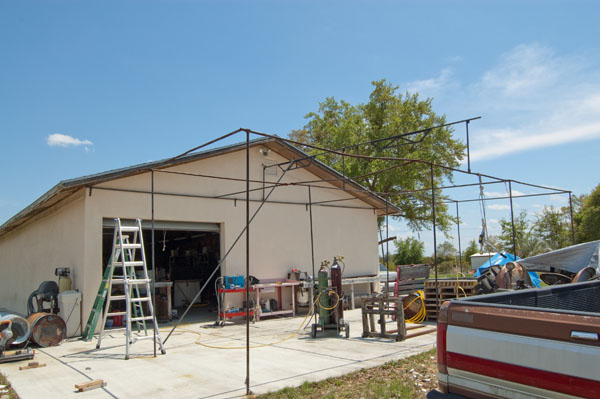
Since this end of the building faces West, most of the day it will be in the Sunshine. I figured a canopy was in order. I layed out the frame of the canopy along with the mounting hardware and the legs for the frame.
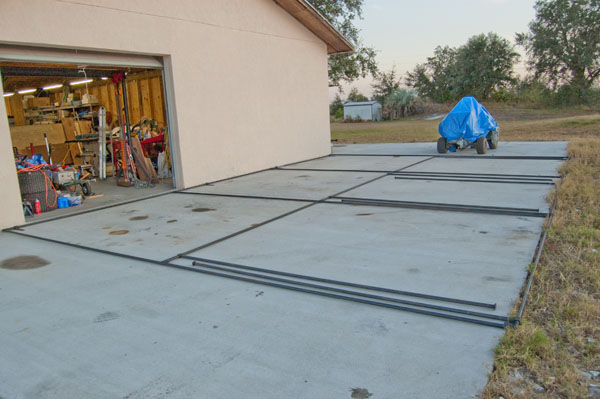
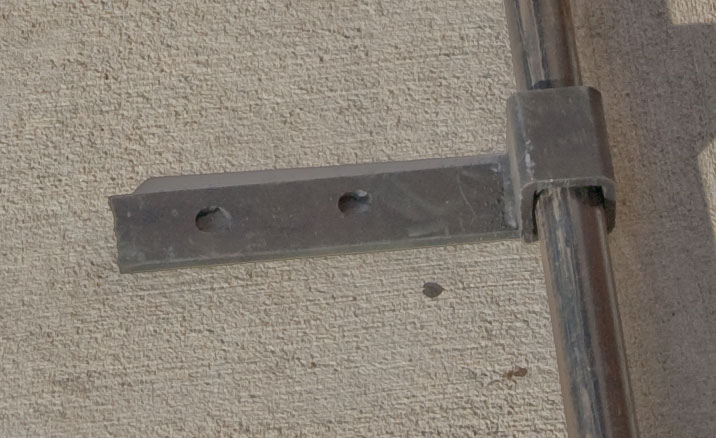
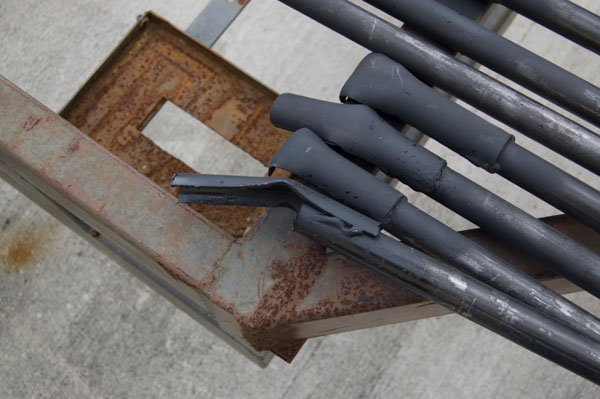
The design of the mounts and legs was determined by the fact that this, as well as most all of these projects are pretty much a one man show. The Wall mounts are 1/4" wall tubing welded to a 2" x 3/8" strap with 1/2" holes cut in the strap to mount the bracket to the 6" x 6" uprights behind the stucco wall and allow the frame to swivel.
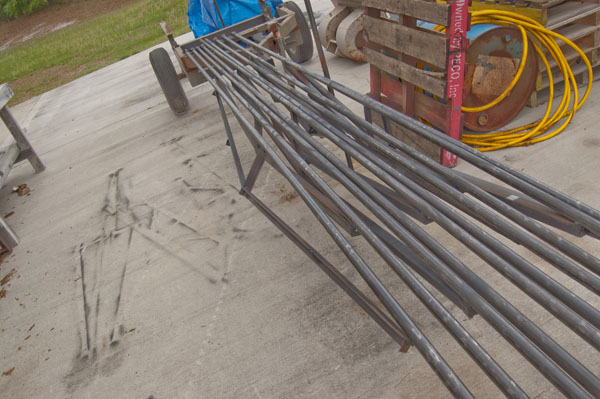
The legs are the same material as the frame, basic 3/4" ID black pipe, that makes the OD about 1". To make the legs I cut 4 pieces 9 ft 6" and 4 pieces 9 ft 0" and attached a piece of the 1/4" wall tubing to one end of each leg and a piece of flat stock on the other end....
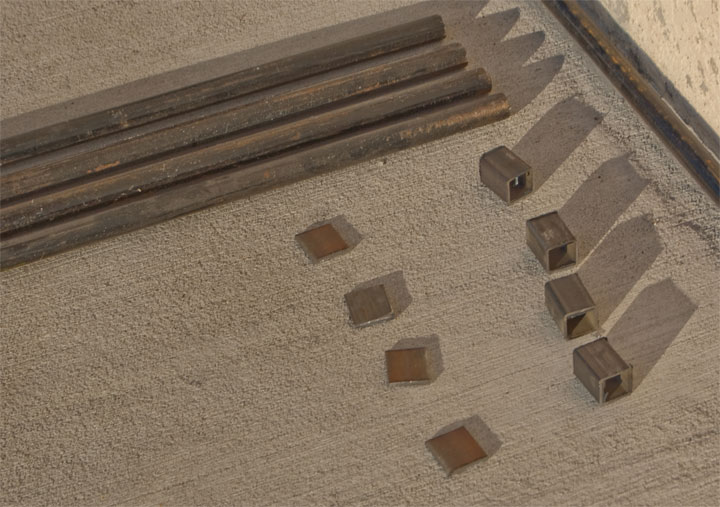
When the legs are attached to the frame they have the ability to slide from side to side and swivel. This gives the ability to rearrange the spacing of the legs to accomodate different pieces of equipment or vehicles.
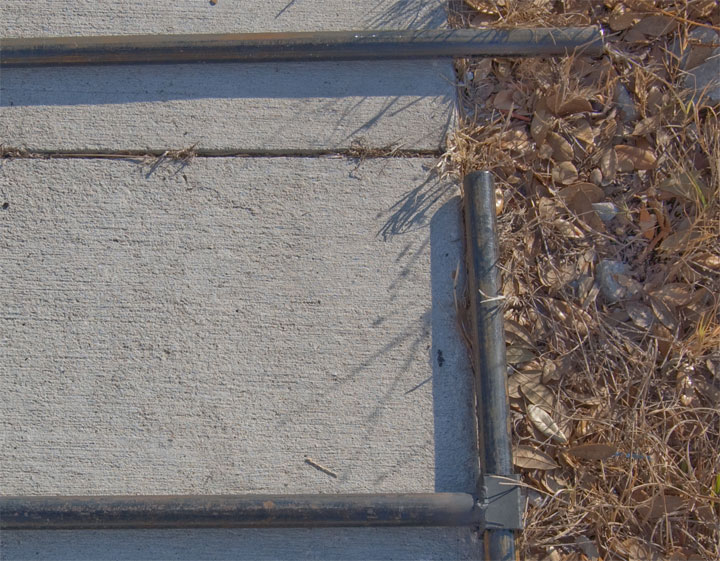
Because of the threat of hurricanes it was necessary to use gussets in the corners where the pipes come together....
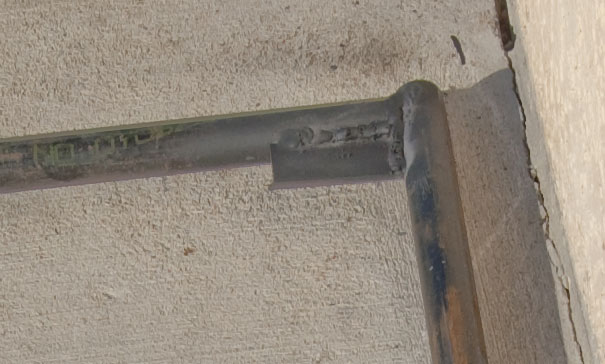
After welding all the pieces together...
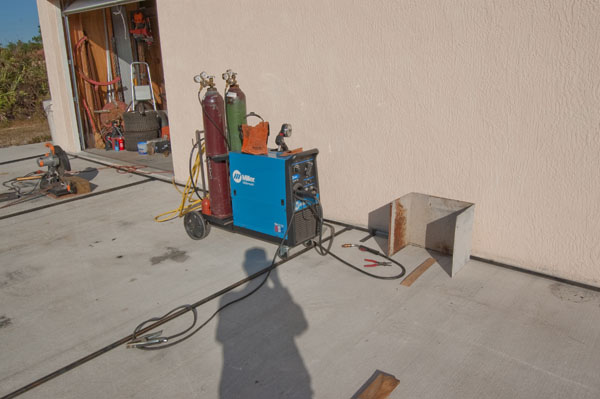
It was time to start hoisting the frame up the wall of the building....
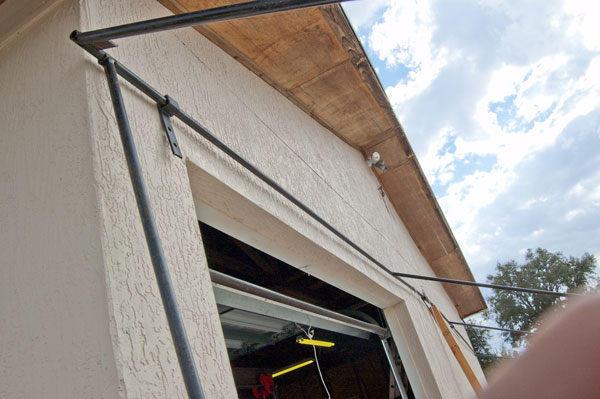
You'll notice there appears to be a leg to the left of the Mounting Bracket... that is actually a "measuring stick" that is exactly 10 ft long. Once the frame is hoisted (with the block and tackle mounted in the center of the wall close to the peak) and jacked into place I use these "sticks" to level the work while I drill and lag bolt the brackets to the beams behind the wall.
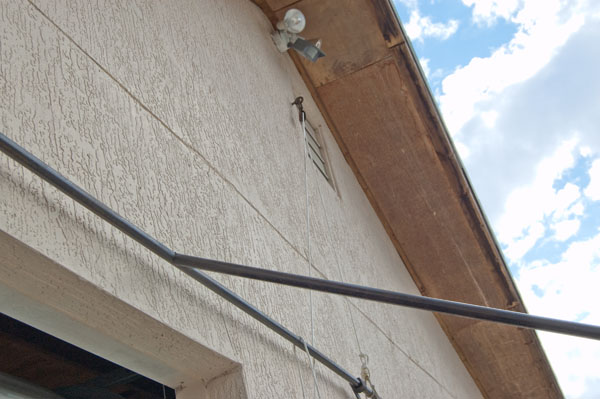
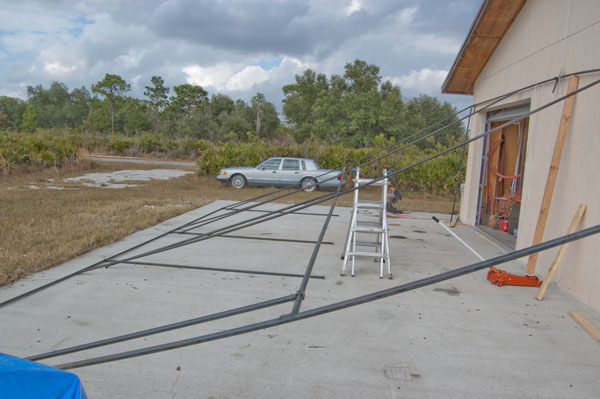
After getting the frame attached to the building...
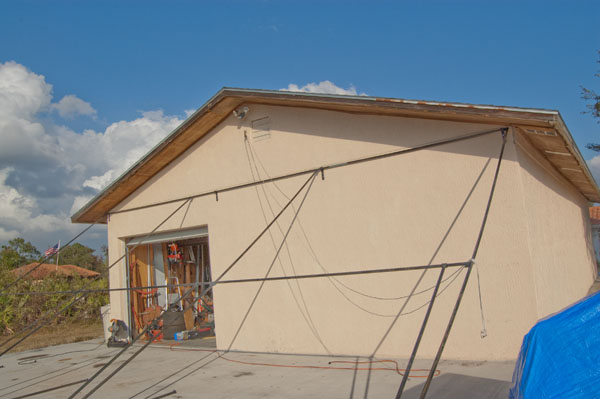
The next step was to attach the tarp to the frame....
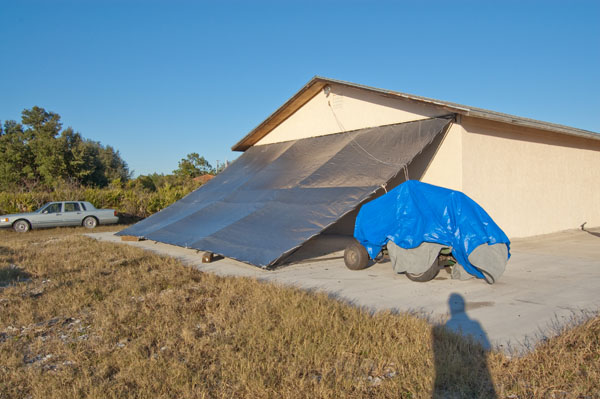
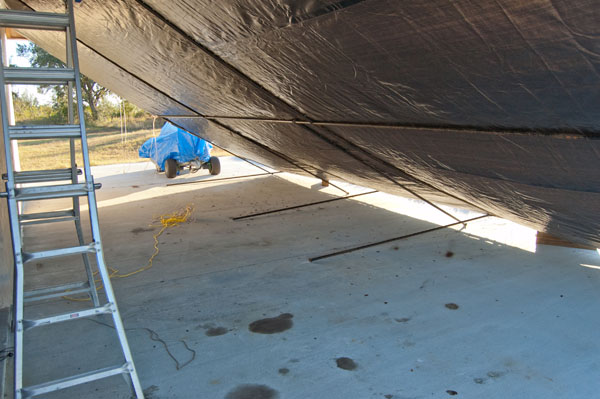
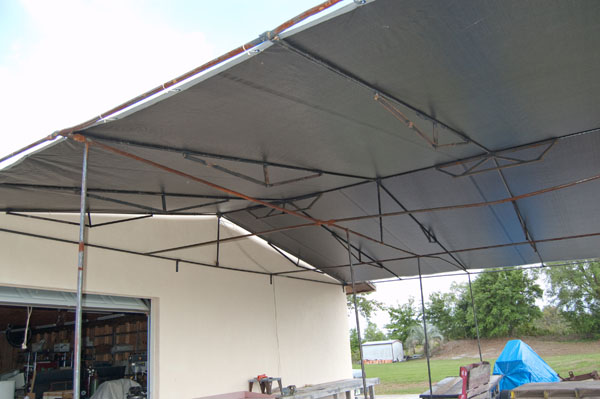
Below you can see the underside of the tarp with the "Legs" partially dropped...
Now for the trusty 1948 Ford 8N tractor.... from Long Lake Tractor, Long Lake, Minnesota and the homemade very useful "forklift" attachment I built..
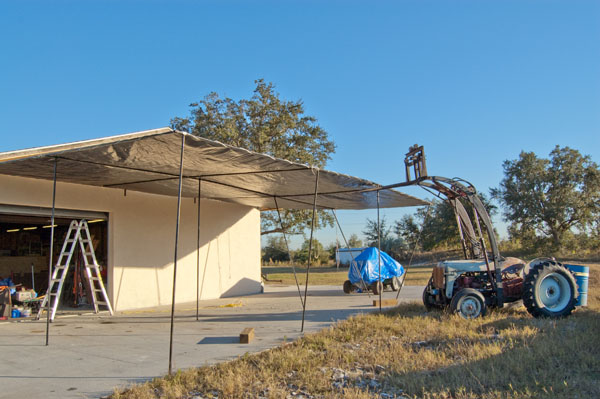
As you can see now, the frame swivels at the mounts on the building and the "Legs" drop down into position to hold the frame in place...... In order to hold the frame down it was necessary to weld some loops to the legs and anchor them with lag bolts to the concrete....
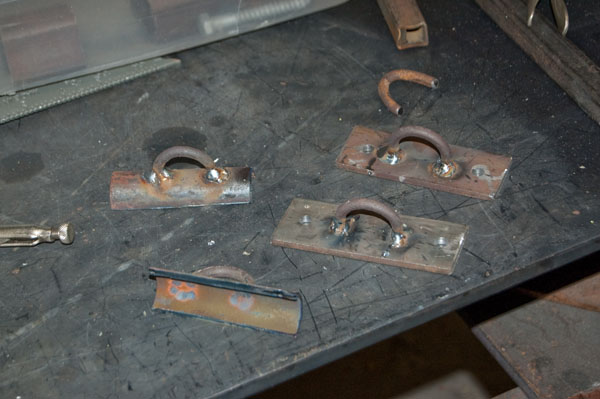
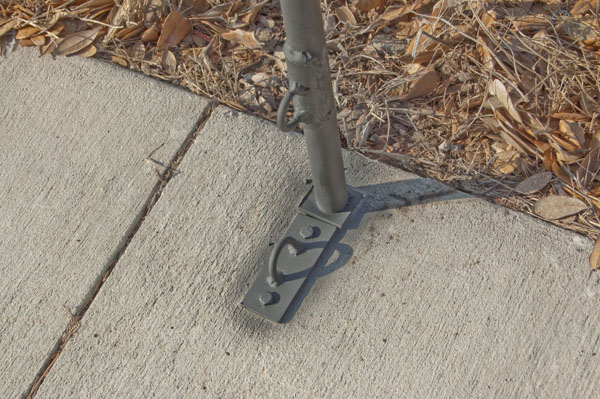
So there you have it... the canopy to cover the outside work area....
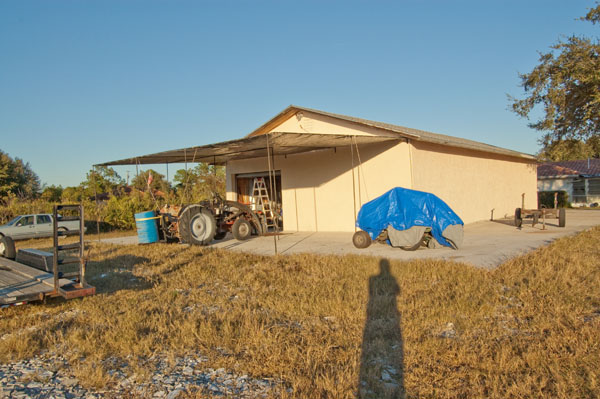
Just one small problem..... While the pitch would be fine for an aluminum
carport a tarp that has some "give" in the construction, and the nylon
rope ties that stretches a little, the weight of water building up in a puddle
in the middle of a tarp can gain weight in a hell of a hurry.....
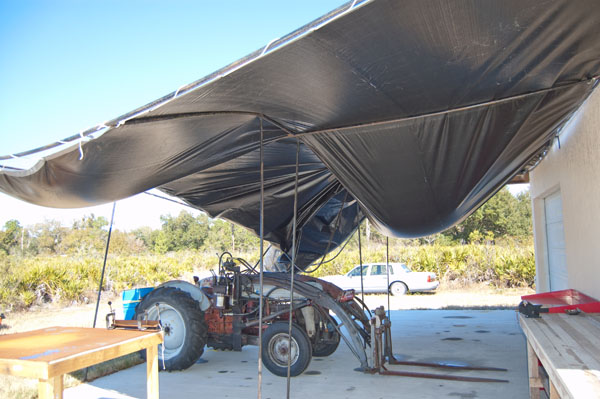
Sooooo... I had to drop it down and straighten the pipes and go back to
the "drawing board".....
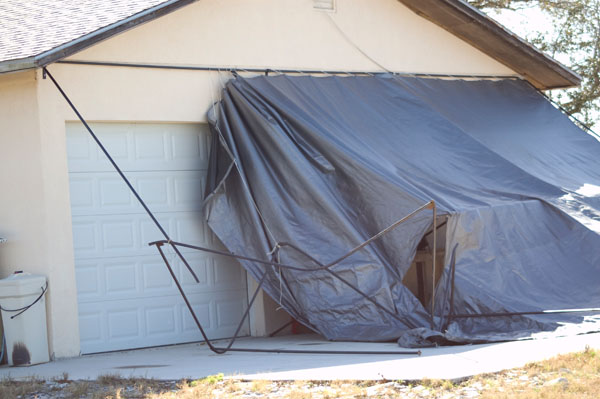
I decided to put a "Peak" on the top of the frame with plenty of pitch.
Since the Peak would be supporting "Rafters" as well as the weight of
the tarp, I decided to build and attach some truss supports...
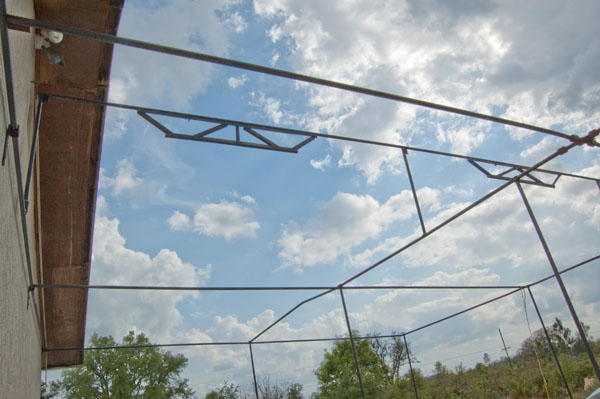
Next I made a "measuring rafter" to determine the length of each of the
side rafters..
While measuring, I discovered that the rafters would also need to have
trusses. I put ends on the rafters so that they would stay in place while
I welded the other side of the rafter...
I used the block and tackle to help pull the tarp up to the peak and
then spread it out to the 4 corners to hold it in place while I wired
the grommets to the frame. No nylon ties on this one....
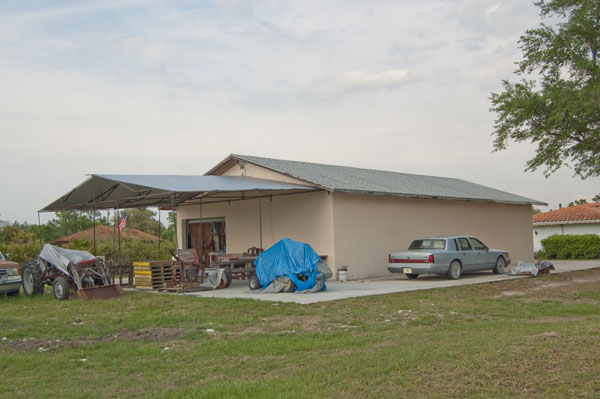
A look from the southwest corner of my property of the new canopy....
Which by the way has already survived huge wind gusts and inches of rain.
I have the ability to drop down the outside end of the canopy and secure
it in the event of a hurricane.